Ensuring your work endures the daily physical stresses of your client's life
Chapter 13: The Application Methods
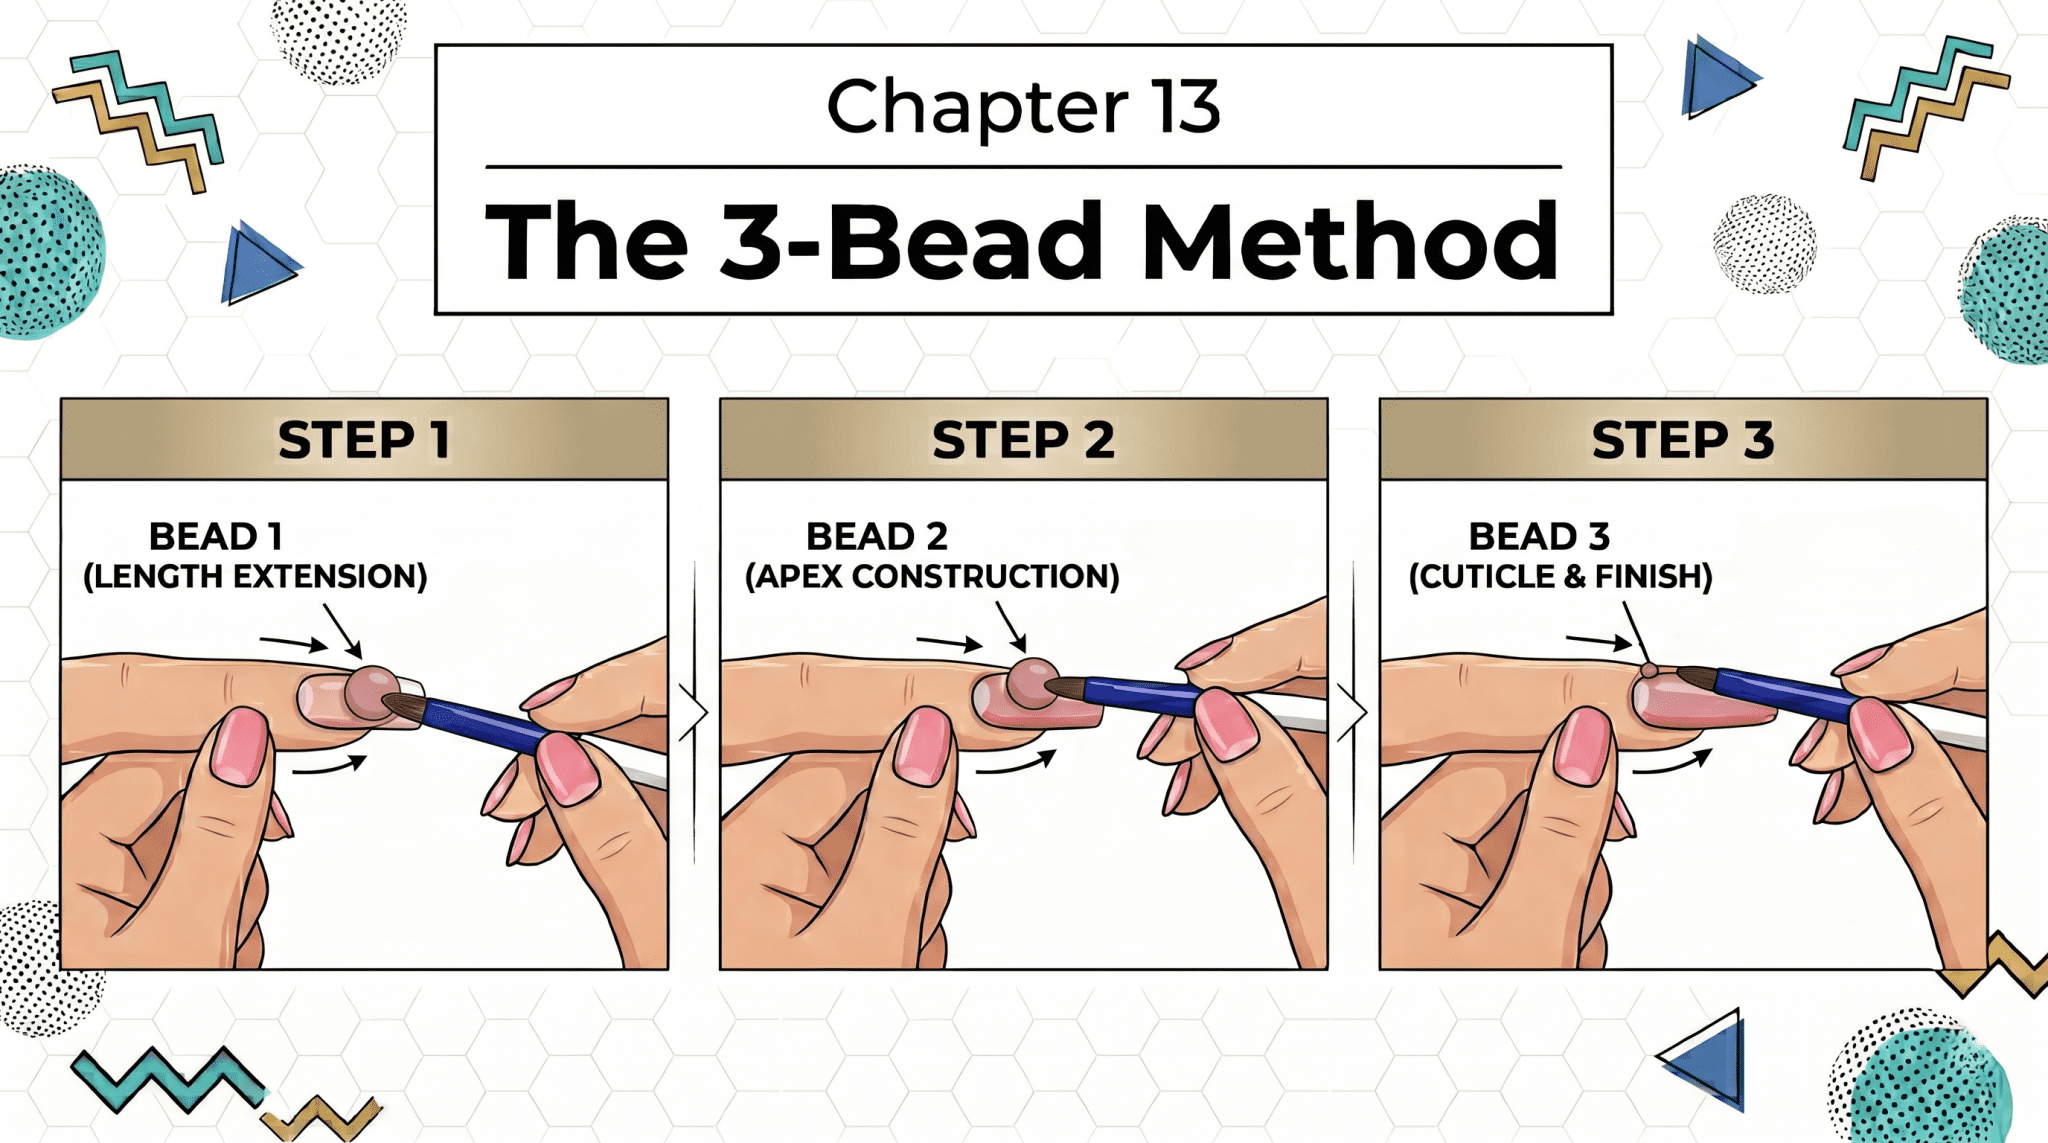
Standard Protocol & Advanced Artistry
DeEnterprises acrylic is engineered for a systematic, repeatable application. The superior “hold” and self-leveling viscosity of our system allow for the industry-standard 3-Bead Method to be executed with maximum speed and minimal finishing.
Bead 1: The Free Edge (Extension & Shape)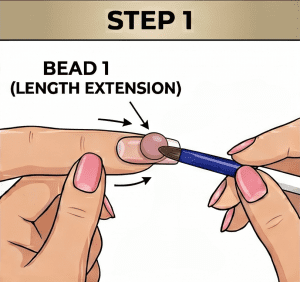
- Target: Placed at the junction of the natural nail and the tip/form.
- Goal: Establish length, define the C-Curve, and taper the free edge.
- The Science: This bead creates the structural foundation upon which the rest of the architecture rests.
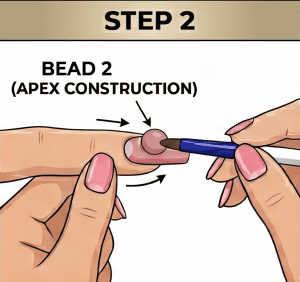 Bead 2: The Stress Area (The Apex)
- Target: Placed in the center of the nail plate, overlapping the back of Bead 1.
- Goal: Build the architectural apex to reinforce the stress zone.
- The Science: This remains the thickest point of the enhancement to ensure optimal shock absorption and prevent snapping.
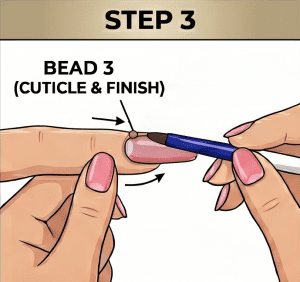 Bead 3: The Eponychium Zone (The Seal)
- Target: Placed 1/32″ from the eponychium skin.
- Goal: Tapered to a flush, “invisible” finish against the natural nail.
- The Science: Maintaining a hair-line gap prevents flooding and skin overexposure, ensuring a lift-resistant chemical seal.
Professional Versatility While the 3-bead method is the baseline for consistency, the controlled set-time of DeEnterprises chemistry easily supports advanced Single-Bead or Reverse techniques for high-volume technicians.